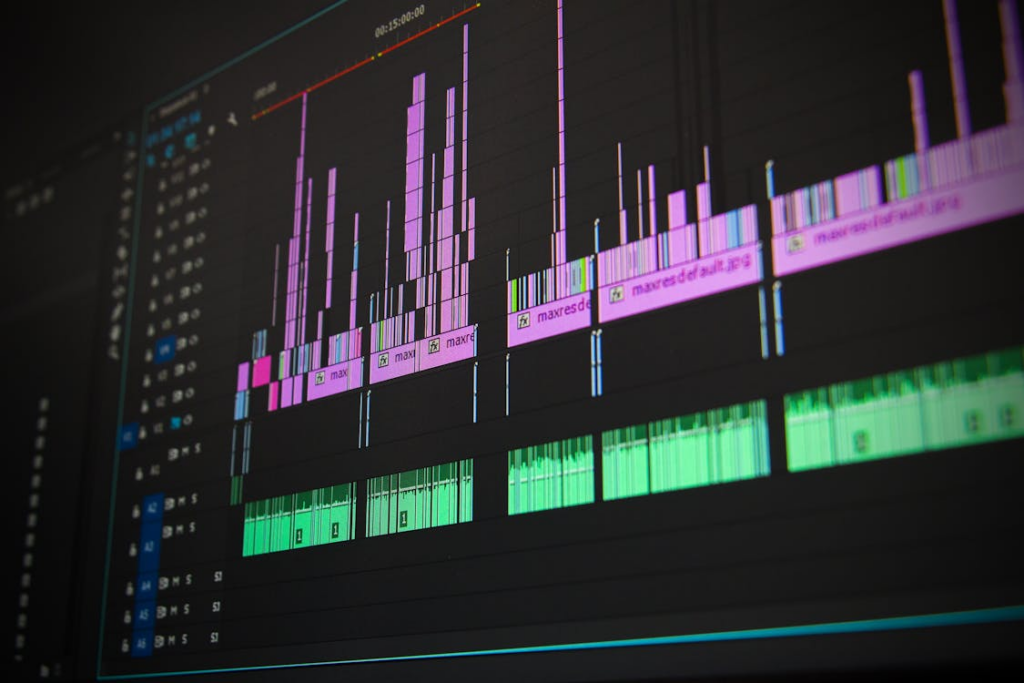
GIFs (Graphics Interchange Format) are a popular way to share short, looping video clips and animations online. With the right editing tools, such as a GIF background remover, you can customise existing GIFs or even create your own from scratch. Here is a step-by-step guide to editing GIFs like a pro:

Choose an Editing Program
There are several programs out there for editing GIFs, but some of the most popular and full-featured options include:
- Adobe: Adobe Photoshop is the industry standard image editing software, ideal for complex edits and animations. Alternatively, Adobe Express has a range of GIF editing tools.
- GIMP: A free, open-source option with various photo and GIF editing capabilities.
- Kapwing: An online editor with lots of templates and easy-to-use tools. Good for basic editing.
- Ezgif: Another good online editor with options to crop, resize, rotate and more.
- PicMonkey: A straightforward online photo editor with some great GIF tools.
Import and Analyse Your GIF
Open your chosen editing program and import the GIF file you want to modify. Take a look at how it’s constructed. How many frames does it contain? How fast does each frame display? Understanding the basics of how the GIF was put together will allow you to better edit and improve it.
Crop and Resize Your GIF
Cropping a GIF allows you to isolate and highlight the most important part of the animation, for example for social media marketing. Here are the steps:
- Select the Crop tool from your toolbar.
- Click and drag over the area you want to keep to crop away the rest.
- In Photoshop and GIMP, right click the crop borders and select ‘Crop to Animation’ to apply changes to all frames.
- Adjust and reposition the crop area as needed until you only have your desired portion.
When you have finished cropping, you can also resize your GIF to make it larger or smaller:
- Go to Image > Image Size in the menu.
- Adjust pixel dimensions, constraining proportions to avoid distortion.
- Select Nearest Neighbour interpolation for hard edges like text and logos. Bicubic smoother works best for natural images.
- Click OK to change GIF size.
Adjust Frame Timing and Speed
One key aspect in any GIF is the timing – how long each frame stays on screen. Here are some tips for modifying frame delay and animation speed:
- In Photoshop’s timeline, click the dropdown menu and choose Frame Delay. Enter timing in milliseconds for each frame.
- Online tools like Ezgif have slider controls to easily lengthen or quicken frame speeds.
- Faster frame delays create quicker animations, while slower settings make actions more gradual.
- For natural motion, use 24-30 frames per second. Go even slower for dramatic effect.
- Keep animations short and concise – 2-4 seconds is ideal. Avoid excessive frame delays.
Creative visual effects can be made by varying frame timings – speed up or slow down parts, pause briefly, etc. Don’t be afraid to experiment!
Add Text and Logos
Customise your GIFs by adding text, captions, logos, and other graphics. Here are some tips when adding text:
- Use a sans-serif font like Arial or Helvetica for best clarity. Avoid thin, flowing scripts.
- Make sure the text stands out from the background. Add drop shadows, outlines, or solid shapes behind it.
- In Photoshop, right click text layers and select ‘Convert to Smart object’ so you can edit text across all frames.
- Position text carefully to avoid covering up key parts of the GIF. Fade or animate text for a stylish look.
The same tips apply for overlaying logos or other graphics. Play with sizing and positioning to find the right balance with the underlying GIF.
Adjust Colour, Lighting and Effects
Don’t be afraid to alter the colour scheme and lighting of your GIFs to create new aesthetics. Here are some adjustments to try:
- Hue/Saturation: Change hue to shift all colours, increase/decrease saturation.
- Colour balance: Fine tune different tonal ranges like highlights, midtones and shadows.
- Brightness/Contrast: Boost contrast for vividness or brightness to lighten up.
- Invert: Flip from positive to negative colours.
- Posterise: Reduce number of colours for a flat, comic book look.
Take Your GIFs to the Next Level
Once you have the hang of basic GIF editing techniques, try taking your skills to the next level:
- Animate frame-by-frame: Build your GIF from scratch with total control over each frame’s content. Requires more effort but enables the most creative possibilities.
- Incorporate video: Import clips and composite video into part of a GIF to mix media.
- Add overlays: Layer colour tints, textures, light effects over your GIF to change its style.
- Special effects: Make cinemagraphs with selective animation, add motion blur, fractures, glitches, and trippy effects.
Let your imagination run wild! The more you work with GIF editing software and explore different techniques, the more amazing visuals you’ll be able to produce.
